You can find all the code of this article in this codesandbox.
A lot of people aren’t aware that, nowadays, AI can really help us to write code! Trust me, I’ve been using chatGPT to help me write thousands of lines of code. Let me show you how.
I will take a frontend component as an example, show you how to build a product ready component. We use React to help us modulize our code, so chatGPT can generate code more precisely.
Just like humans, chatGPT is also not good at handling complex things at one time, so we need to make things simplier for chatGPT. One of the powerful ways to handle our system’s complexity is modulization. We will start by building the most simple components, and then combining them together, to become a page. For demonstration, I will just do a simple <DialogBox /> component here. You can use the same concept to build a big system(some dudes use it to build a new language).
Requirements:
Level 1:
<DialogBox />: The DialogBox component should be able to display a conversation between two users, with input area.
Clearly, if we just put the requirement above into chatGPT, it likely won’t get us a satisfactory result. Because the module we gonna build is too big to describe it clearly. So let’s split it into these several parts:
Level 2:
<Messages />: The Messages box should display users’ conversation lists, on the left hand side is the other user’s message. On the right hand side is the user’s message.<TextArea />:The TextArea should show placeholder to guide user input something, and when press enter key, it should call sendMessage.
We break a big component into two components. Now the problem has become smaller, but still a bit too much for chatGPT. Let’s break it into pieces.
Level 3:
<MessageBubble />: The MessageBubble component should display the message text entered by a user, with the direction left or right.<Avatar />: The Avatar component should display a profile picture or other visual representation of a user.<TextArea />:Same as above.
These should be small enough for chatGPT to generate the code. So let’s invite our AI friend, chatGPT, to help us finishned the components.
Implementations:
All right! Before really starting development, we need to make sure that chatGPT and us are in the same context. We need to declare the dependencies that we have(for demonstration we only introduce simple dependencies, you can add much more if you want):
As you can see, chatGPT is happy to help us write code. Let’s go! Let’s start from Level 3(the small peices) to Level 1.
Level 3:
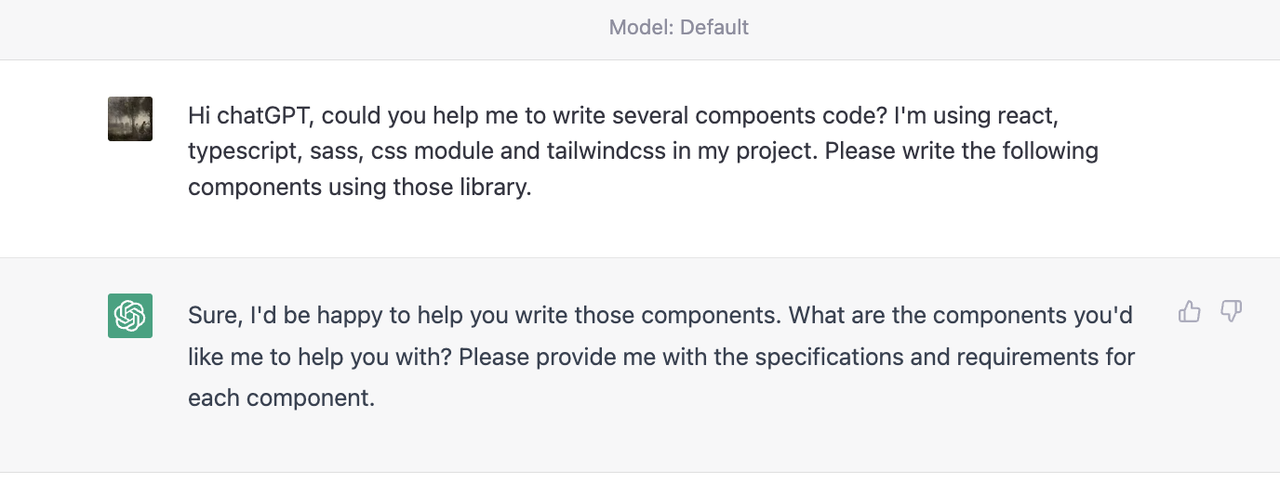
<TextArea />
Let me describe the requirements to chatGPT:

Here is what chatGPT return me:
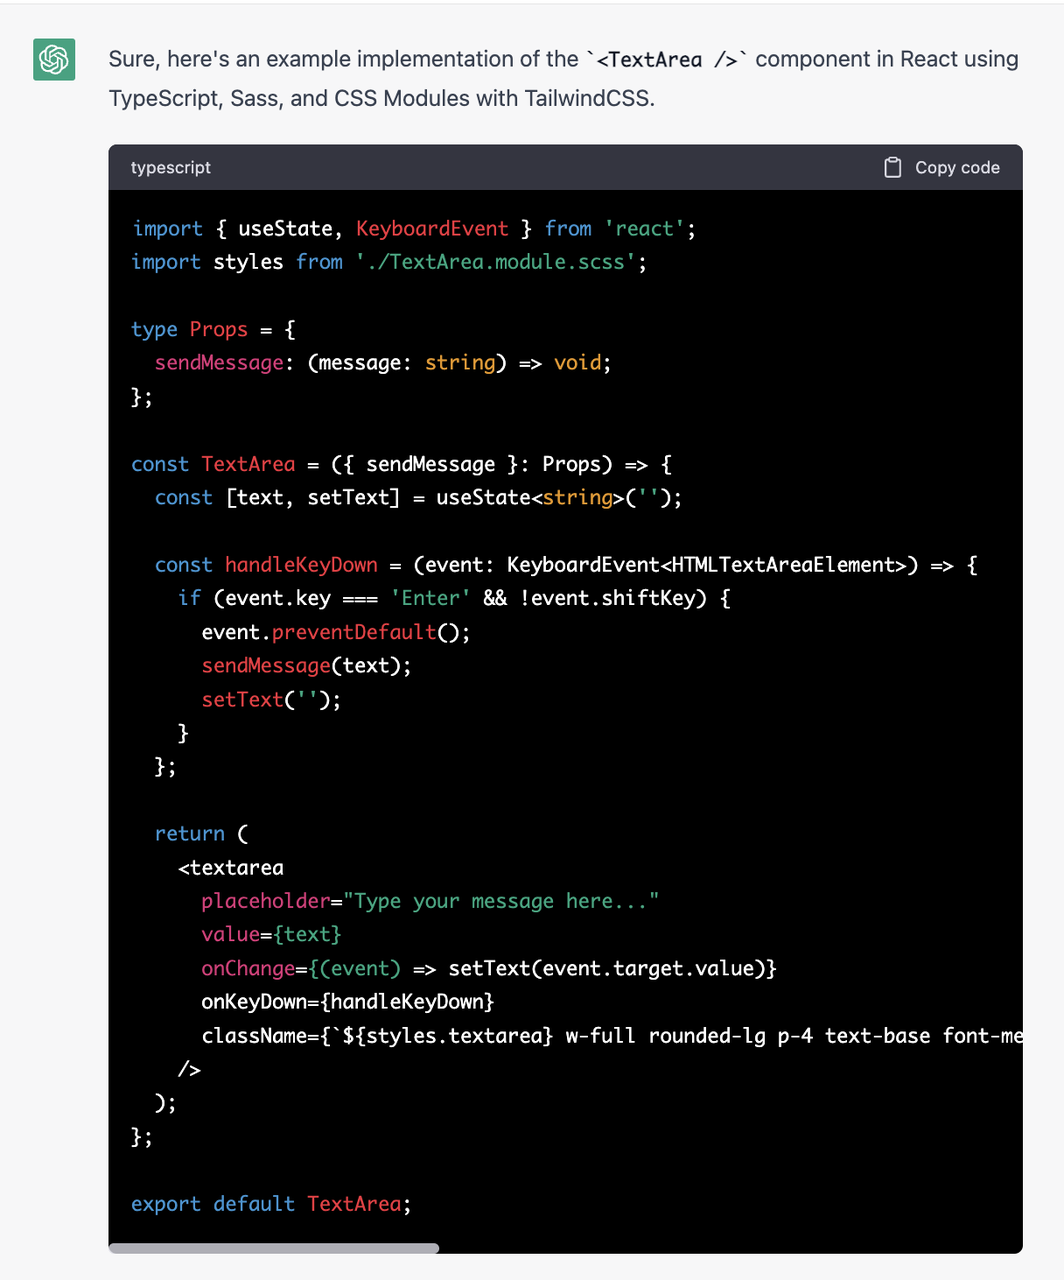
Here is the effect of the code:
LGTM, the only thing I want to change is to make the textarea unable to resize. This is simple enough, so I just do it by myself. You can ask chatGPT to do it for sure.
<Avatar />
Let’s finish the avatar component as well:

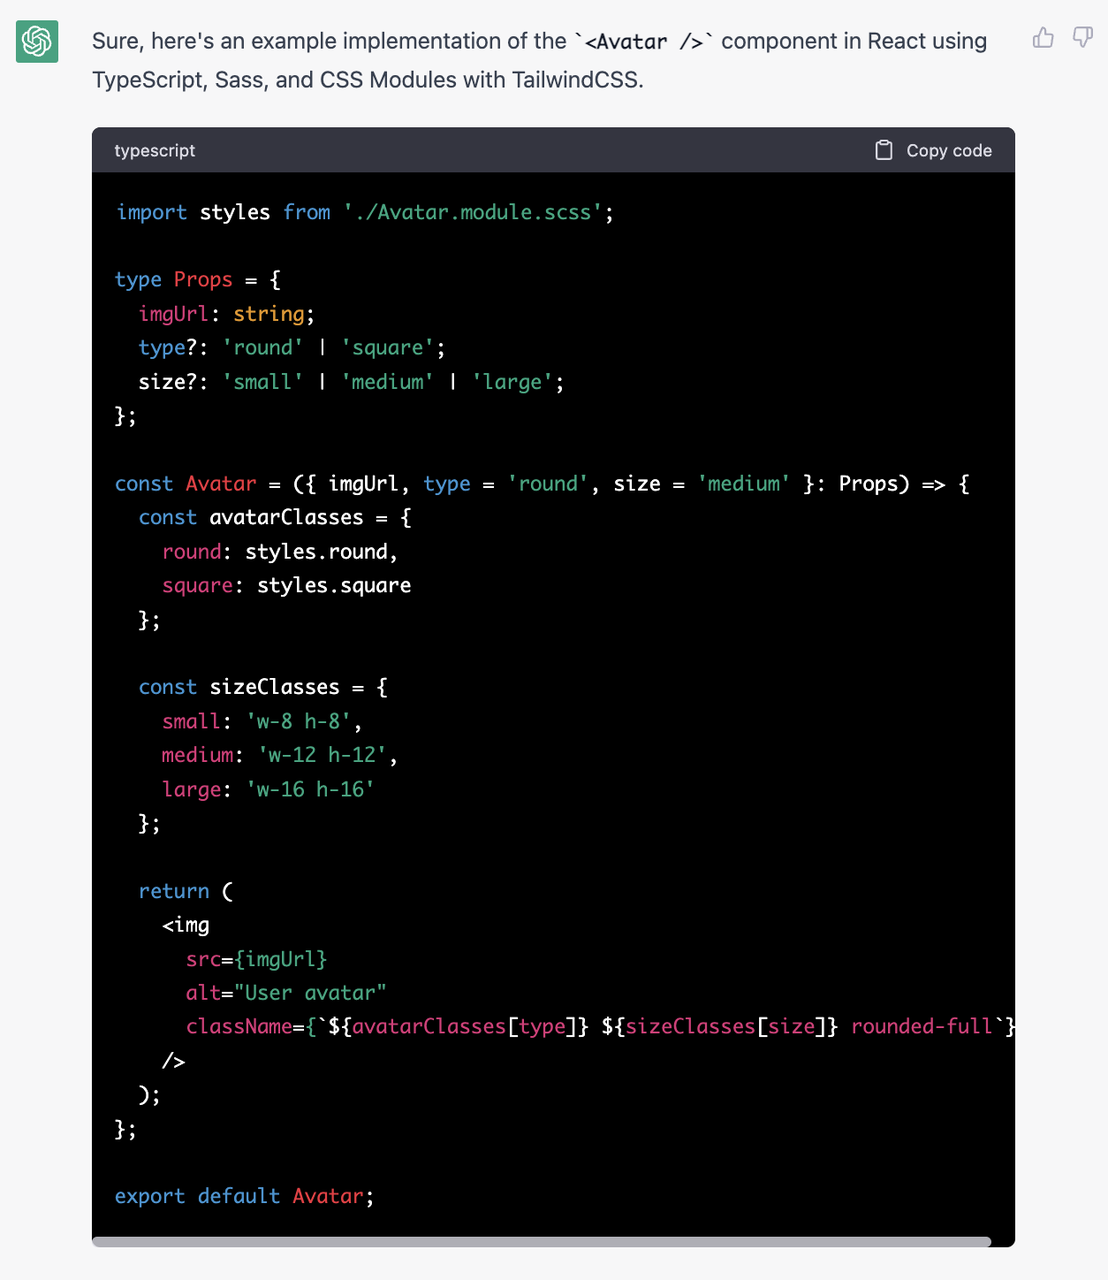
As you can see, it generates a super considerate code for me, a lot of the details that I didn’t specify in my requirements! But we can bring the code to the next level without typing in any code. We just tell chatGPT to do so. Let me show you how(Here is just the demonstrate of how to let chatGPT improve the code, some code is unnecessary hah):
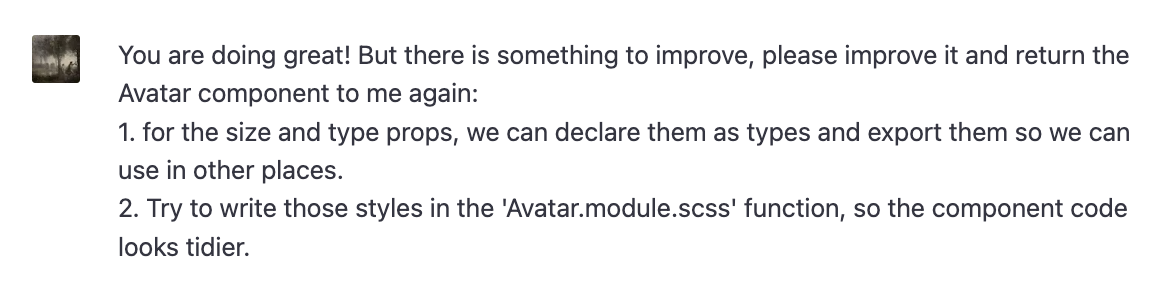
Look at those codes, I think they are pretty good! What do you think?
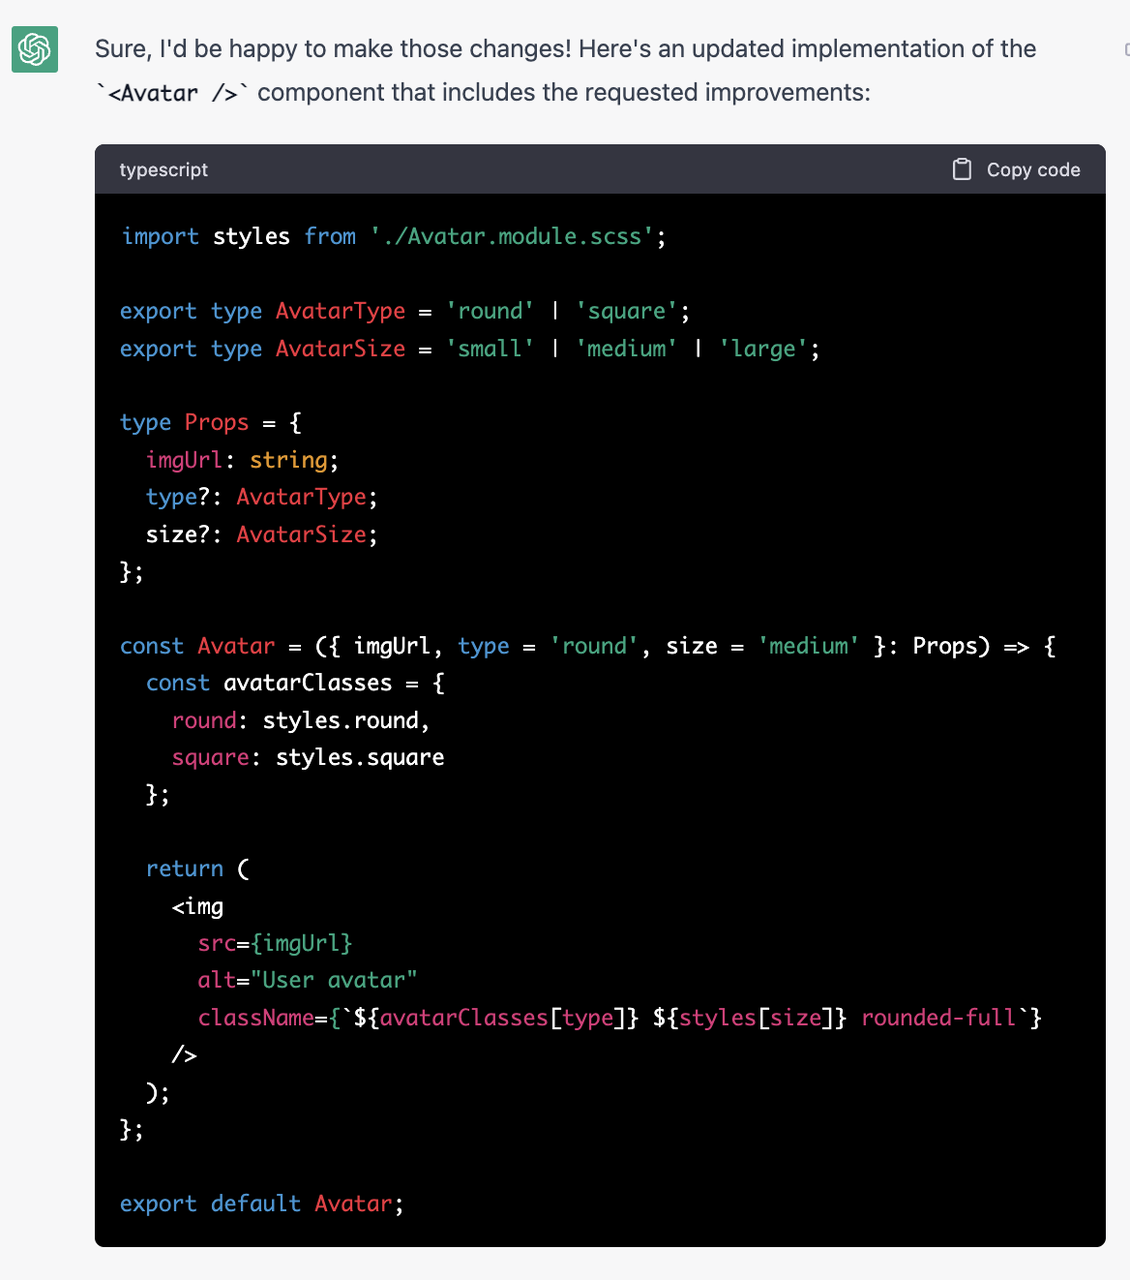

The result is like this,

<MessageBubble />
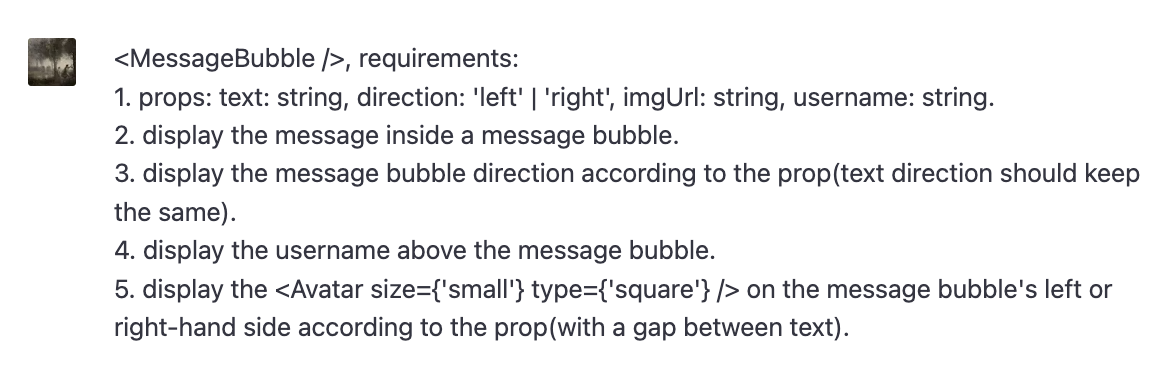
ChatGPT return this:
1 | // MessageBubble.tsx |
1 | // MessageBubble.module.scss |
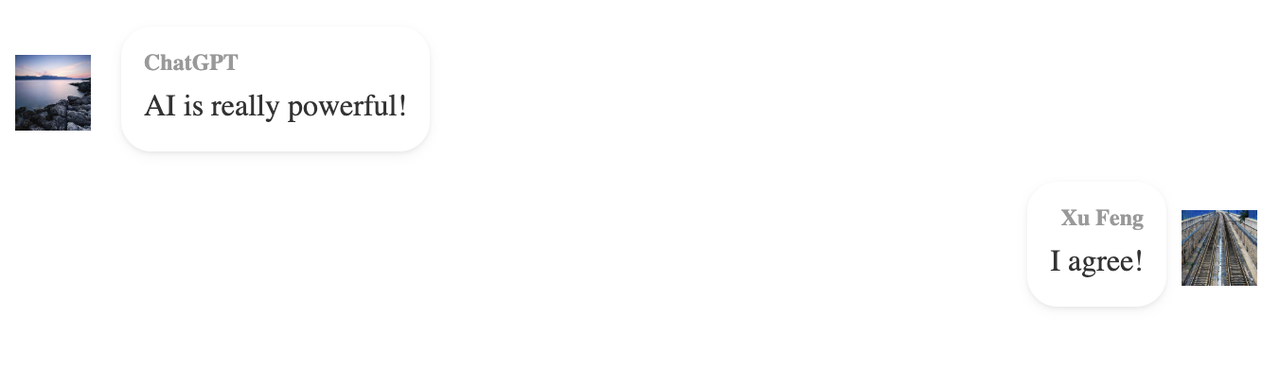
The result is not bad, expect some style problems need to be adapted. Most of the code has no need to modify it.
Level 2:
From level 2, what we need to do is to combine the components that chatGPT previously built. Let’s tell chatGPT to do so.
<Messages />
1 | // Messages.tsx |
1 | // Messages.module.scss |
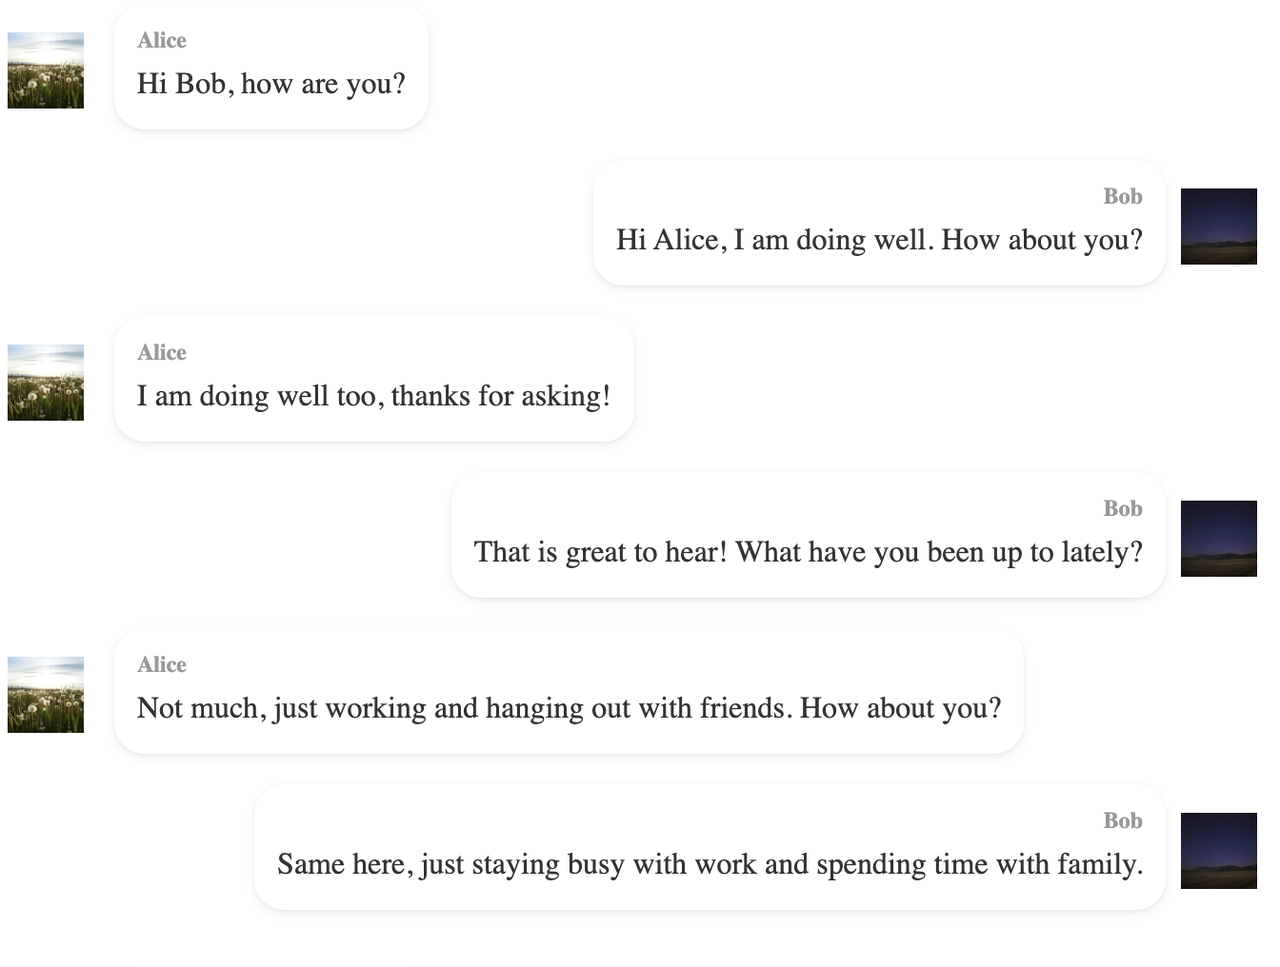
Looks pretty good~
Level 1:
<DialogBox />
1 | // Dialogbox.tsx |
1 | .dialogBox { |
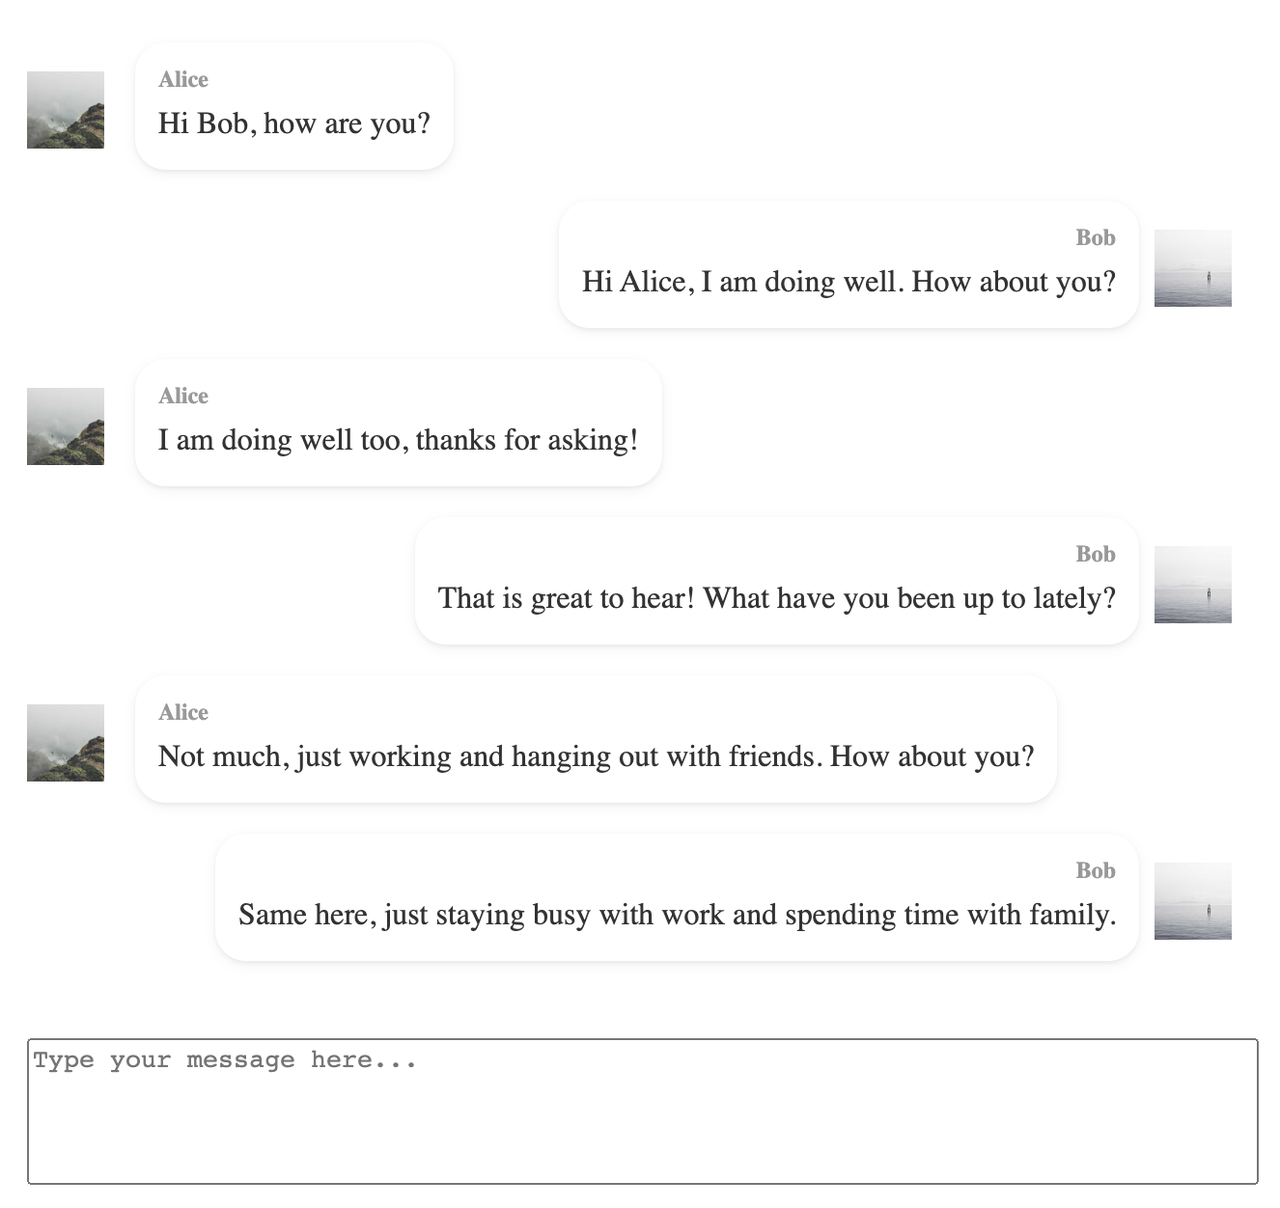
As you can see, most of the time, I’m not coding. Instead, I just design the components and tell chatGPT what it is. ChatGPT will just give me quite a satisfactory result. After a simple code review, the development is done. The key is to separate big problems into small problems, so that we can describe them clearly and chatGPT is easier to understand. We can use this method to build some huge systems. It is possible.